
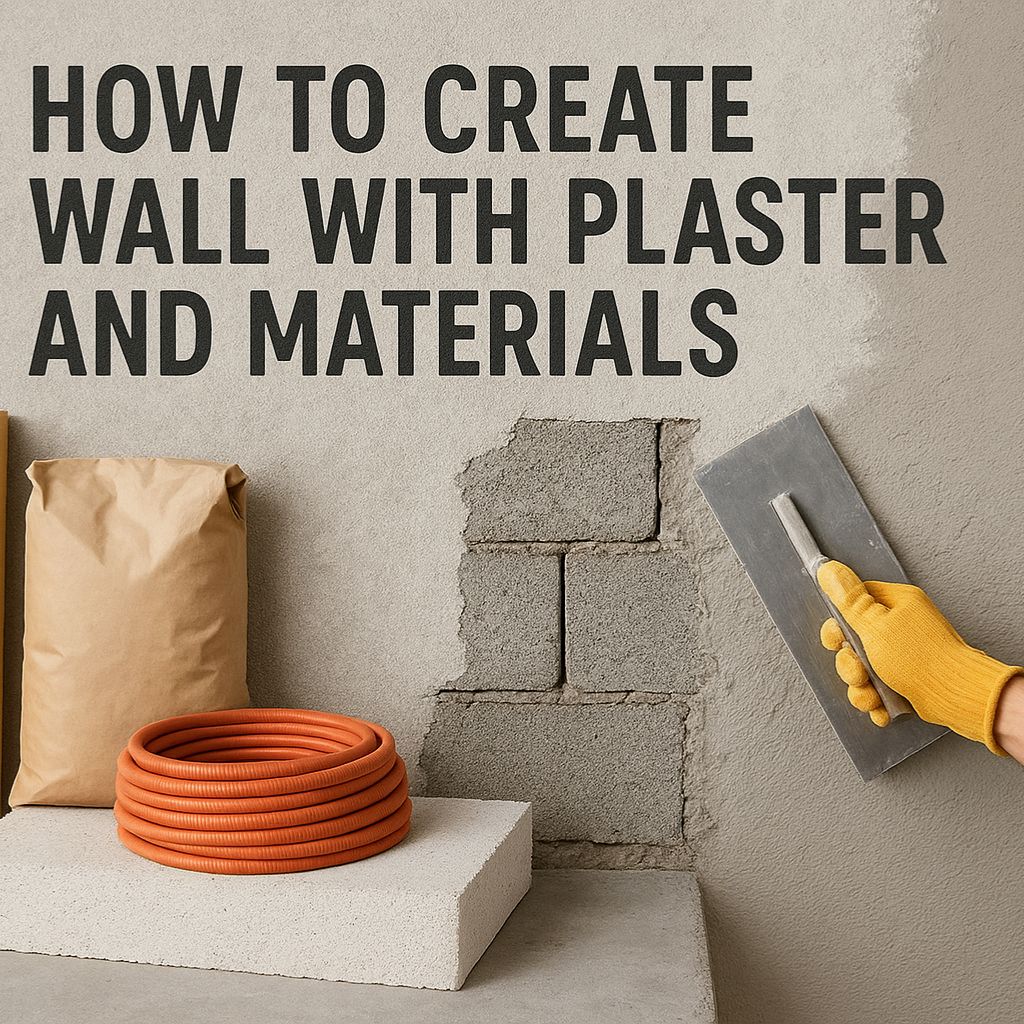
Building the perfect wall requires more than just bricks and mortar it demands the right plastering technique and quality materials. In India’s diverse climate conditions, from Mumbai’s monsoons to Delhi’s harsh winters, choosing the correct plaster and application method can make the difference between a wall that lasts decades and one that develops cracks within months.
Whether you’re constructing a new home or renovating an existing one, understanding how to create walls with plaster properly will ensure smooth, durable surfaces that enhance both aesthetics and functionality. Modern construction increasingly favors gypsum-based solutions over traditional sand-cement methods, offering superior finishes and faster application times.
Understanding Different Types of Plaster for Wall Construction
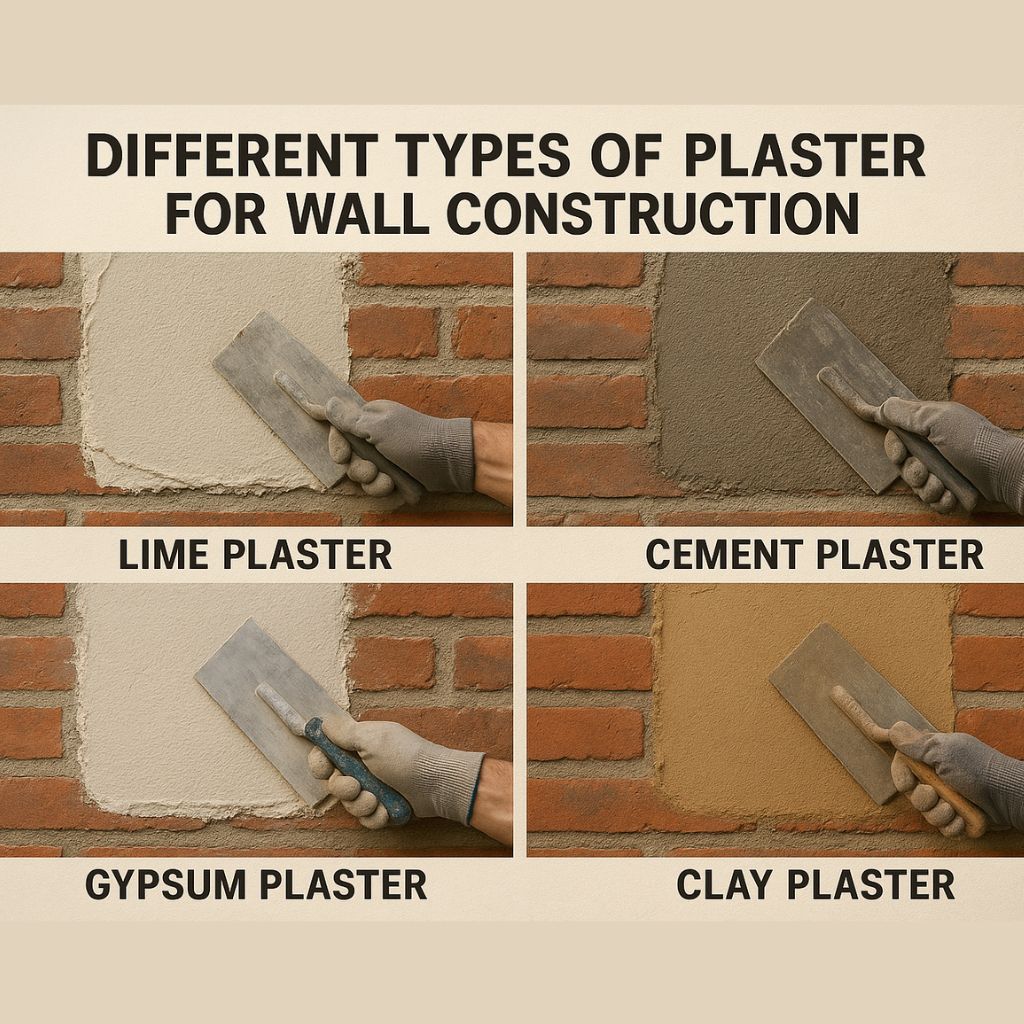
Traditional Sand-Cement Plaster
Sand-cement plaster has been the backbone of Indian construction for decades. This mixture typically consists of sand, cement, and water in specific proportions. While readily available, it requires extensive water curing and can be prone to cracking in extreme weather conditions.
Modern Gypsum Plaster Solutions
Plaster technology has evolved significantly, with gypsum-based products leading the transformation. Gypsum plaster offers several advantages over traditional methods:
- Faster application with no water curing required
- Superior finish quality with mirror smooth finish, even surfaces
- Better adhesion to various substrates
- Environmentally friendly composition
- Reduced overall construction time
Gypsum Plaster Variants
Add our other gypsum plaster products names & descriptions also
Perlite Plaster: Contains lightweight aggregates that provide excellent insulation properties, making it ideal for walls in varying climatic conditions. Gives better coverage 24 sqft per 25 kgs bag.
Vermiculite Plaster: Features special additives and lightweight aggregates that enhance thermal insulation and fire resistance. It gives better coverage around 24 sqft per 25 kgs bag
Ready-Mix Plaster: Ready mix plaster is a pre-formulated mixture that ensures consistent quality and reduces on-site mixing errors. It uses branded cement and fine graded river sand to deliver a smooth and durable finish.
Essential Materials for Wall Plastering
Primary Materials
Base Plaster: The foundation layer that ensures proper adhesion to the wall substrate. Quality base plaster should have high purity levels and consistent composition.
Bonding Agents: Critical for ensuring proper adhesion between plaster and substrate surfaces. High-performance bonding agents like Plaster Bond+ & BONDIT-151 are specifically formulated for gypsum application on concrete blocks and RCC surfaces.
Water: Clean, potable water is essential for proper plaster consistency and curing.
Supporting Materials
- Measuring tools and buckets
- Trowels and floats for application
- Aluminum channels for leveling
- Protective equipment for workers
Quality Considerations
When selecting materials, consider factors such as:
- Availability and lead times
- Purity levels of the plaster
- Consistency of color and texture
- Certification standards (IS 2547-1 Part 1 & Part 2)
Step-by-Step Guide to Create a Wall with Plaster
Surface Preparation
Step 1: Clean the Surface – Remove all dust, loose particles, and debris from the wall surface. Any oil stains or paint residue must be eliminated to ensure proper adhesion.
Step 2: Dampen the Surface – Lightly dampen the wall surface with clean water. This prevents the substrate from absorbing moisture from the plaster too quickly, which can cause premature drying and cracking.
Step 3: Apply Bonding Agent – For concrete surfaces, apply a high-performance bonding agent evenly across the surface. This creates an ideal base for plaster adhesion.
Plaster Application Process
Step 4: Mixing the Plaster – Follow manufacturer specifications for water-to-plaster ratios. Mix thoroughly to achieve a smooth, lump-free consistency. For gypsum plaster, typical mixing ratios are specified to ensure optimal performance.
Step 5: First Coat Application – Apply the base coat using a trowel, maintaining consistent thickness across the surface. Work in manageable sections to ensure even coverage.
Step 6: Surface Preparation for Finish Coat – Once the base coat reaches the appropriate consistency, roughen the surface slightly to provide better adhesion for the finish coat.
Step 7: Final Coat Application Apply the finish coat with smooth, even strokes. Use a float to achieve the desired texture and finish quality.
Finishing Techniques
Step 8: Surface Smoothing Use appropriate tools to achieve the desired finish smooth for painting or textured for decorative effects.
Step 9: Edge and Corner Finishing Pay special attention to edges and corners, ensuring clean lines and proper coverage.
Common Mistakes to Avoid When Plastering Walls
Mixing Errors
- Using incorrect water-to-plaster ratios
- Inadequate mixing leading to lumps
- Preparing too much material at once
Application Problems
- Applying plaster to dirty or unprepared surfaces
- Ignoring manufacturer’s application guidelines
- Rushing the process without proper drying times
Environmental Factors
- Working in extreme temperatures
- Inadequate protection from direct sunlight or rain
- Poor ventilation during application
Advanced Techniques for Professional Results
Multi-Coat Systems
For superior finishes, consider multi-coat application systems. Each coat serves a specific purpose:
- Rough Coat: Provides adhesion and fills major irregularities
- Floating Coat: Creates a level surface for the final coat
- Finish Coat: Delivers the final aesthetic and protective surface
Texture Applications
Modern plaster systems allow for various textural finishes:
- Smooth finish for contemporary aesthetics
- Textured finish for traditional or decorative applications
- Customised patterns using specialised tools
Maintenance and Longevity Tips
Regular Inspection
Inspect plastered walls annually for signs of:
- Hairline cracks
- Moisture damage
- Color changes or staining
Preventive Measures
- Ensure proper ventilation in high-humidity areas.
- Address water seepage issues promptly.
- Use appropriate primers before painting.
Repair Techniques
Minor damage can be addressed using:
- Patch repair methods for small cracks
- Reapplication of finish coats for surface imperfections
- Professional assessment for major structural issues
Cost Considerations and Budgeting
Material Costs
Factor in costs for:
- Base plaster materials
- Bonding agents and additives
- Tools and equipment
- Labor charges
Long-term Value
While premium plaster systems may have higher upfront costs, they offer:
- Reduced maintenance requirements
- Longer lifespan
- Better aesthetic retention
- Enhanced property value
Why Choose Professional-Grade Plaster Systems?
Professional construction projects increasingly rely on tested, certified plaster systems. Products from established manufacturers ensure:
- Consistent quality across batches
- Technical support and guidance
- Compliance with building standards
- Warranty coverage
The construction industry recognizes that quality plaster systems contribute significantly to overall building performance and longevity.
Conclusion
Creating walls with plaster requires careful attention to material selection, surface preparation, and application techniques. Modern gypsum-based systems offer superior performance. compared to traditional methods, providing faster application, better finishes, and enhanced durability.
Success in wall plastering depends on understanding your specific requirements, choosing appropriate materials, and following proven application methods. Whether you’re a professional contractor or a homeowner undertaking renovation work, investing in quality plaster systems and proper techniques will deliver long-lasting results.
For those seeking premium plaster solutions, Buildon offers a comprehensive range of products, including classic gypsum plaster, specialized bonding agents, and ready-mix solutions. Their products are trusted by major construction companies and individual builders across India, ensuring quality and reliability for your wall construction projects.
Ready to start your wall plastering project? Contact professional suppliers for product recommendations and technical guidance to ensure optimal results for your specific application needs.
Frequently Asked Questions
Q1: What is the difference between gypsum plaster and sand-cement plaster?
Gypsum plaster offers faster application and superior finish quality and doesn’t require water curing. Sand-cement plaster is effective, but not for too long, as it requires extensive curing time and may be prone to cracking. This can be used for short-term plans.
Q2: How long does gypsum plaster take to dry completely?
Gypsum plaster typically sets within 2-3 hours and is ready for the painting within 24-48 hours, depending on environmental conditions.
Q3: Can I apply gypsum plaster on exterior walls?
Gypsum plaster is primarily designed for interior applications. For exterior walls, consider sand-cement plaster or specialized exterior-grade ready-mix plaster systems.
Q4: What should I do if cracks appear in my plastered walls?
Minor cracks can be repaired using appropriate patching compounds. For extensive cracking, consult a professional to assess underlying structural issues.
Q5: How do I choose the right bonding agent for my wall surface?
Select bonding agents based on your substrate type—concrete, brick, or block. High-performance bonding agents like BONDIT-151 are specifically formulated for different surface types.