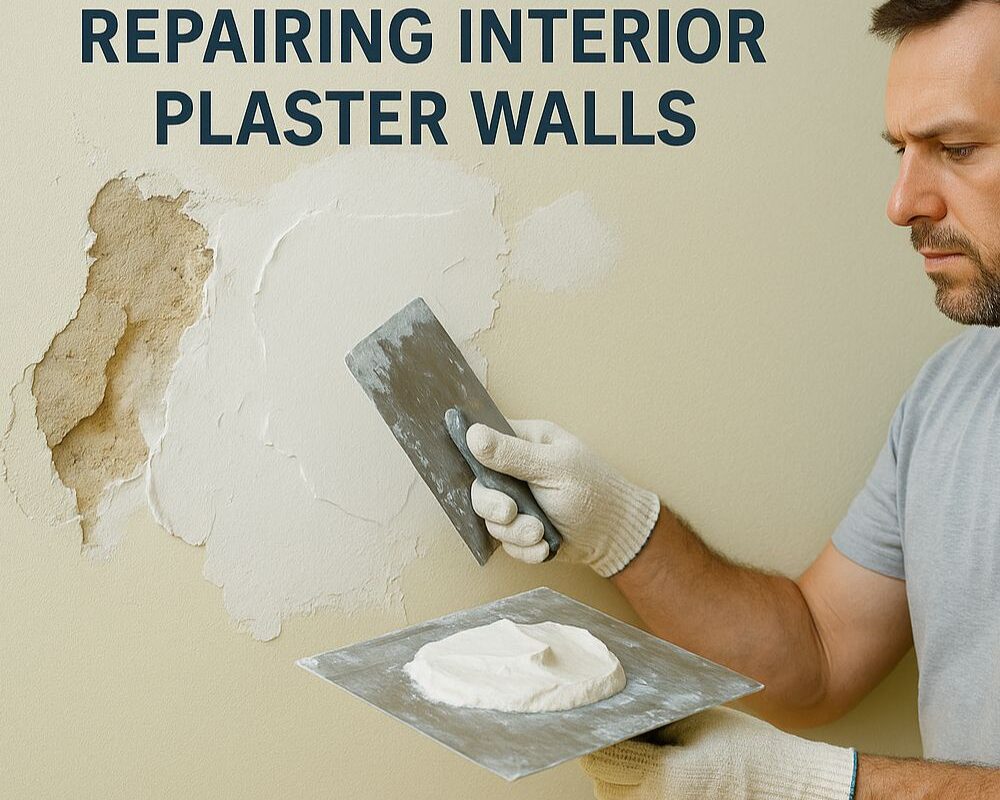
When it comes to interior wall repairs in India, choosing the right material can make all the difference between a long-lasting solution and a temporary fix. With increasing urbanisation and the need for durable, cost-effective construction materials, gypsum plaster has emerged as the preferred choice for homeowners and builders alike. If you’re considering wall repairs or renovation, understanding why gypsum for repairing interior plaster walls is the ideal solution & can save you time, money, and countless headaches.
Indian homes, because of frequent weather changes, face unique challenges, including monsoon moisture, structural settling, and frequent temperature changes. These factors often lead to cracks, peeling, and deterioration of traditional cement-based plasters. This is where gypsum plaster steps in as a game-changer for interior wall repairs.
What Makes Gypsum Plaster the Ideal Choice for Interior Wall Repairs?
Superior Adhesion and Durability
Gypsum for interior walls offers exceptional adhesion properties that make it perfect for repair work. Unlike traditional cement plaster, gypsum plaster bonds effectively with existing surfaces, creating a seamless finish that prevents future cracking and peeling. The material’s inherent characteristics ensure that repairs blend naturally with the existing wall surface, eliminating visible patch marks that often plague conventional repair methods.
The strength of gypsum plaster is particularly noteworthy. High-quality gypsum products are known to be 40% harder than standard alternatives available in the Indian market, providing enhanced durability that withstands the test of time. This superior hardness means fewer repairs in the future, making it a cost-effective long-term solution.
Quick Application and Faster Drying
One of the most significant advantages of using gypsum for repairing interior plaster walls is the speed of application and drying. Traditional cement plaster requires extensive curing time, often taking weeks to fully set. Gypsum plaster, however, dries quickly without requiring any curing period, allowing homeowners to complete their repairs efficiently.
This rapid drying capability is particularly beneficial in Indian climates, where humidity levels can vary dramatically. The material’s quick-setting nature means that repairs can be completed and painted within a matter of days rather than weeks, minimizing disruption to daily life.
Smooth, Professional Finish
Gypsum plaster provides an exceptionally mirror smooth finish that serves as an ideal base for paints and decorative treatments. The material’s fine texture eliminates the need for extensive surface preparation that is typically required with cement-based repairs. This smooth finish not only enhances the aesthetic appeal of interior spaces but also ensures that paint application is uniform and professional-looking.
The leveling properties of gypsum plaster are particularly valuable when repairing walls with existing imperfections. The material naturally fills minor gaps and creates a perfectly even surface, eliminating the labor-intensive process of multiple coats and extensive smoothing required with traditional materials.
Technical Benefits of Gypsum Plaster for Interior Wall Repairs
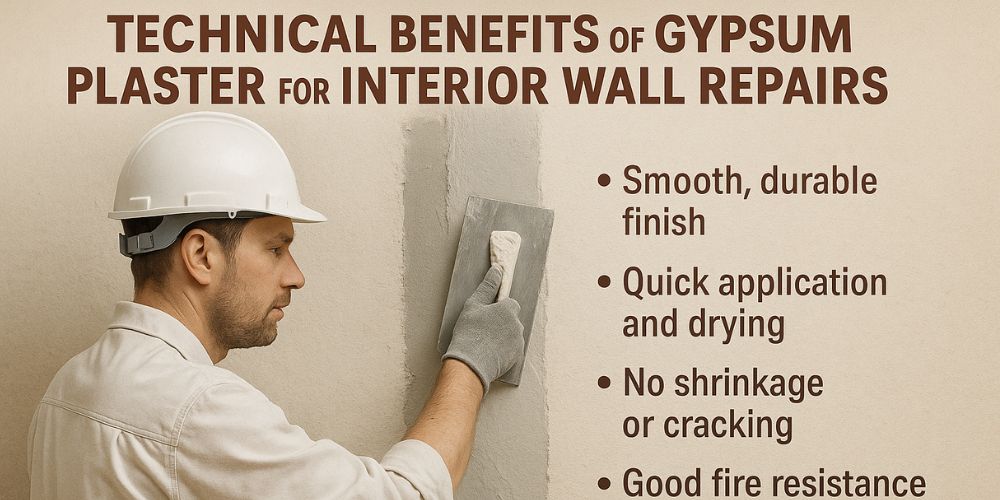
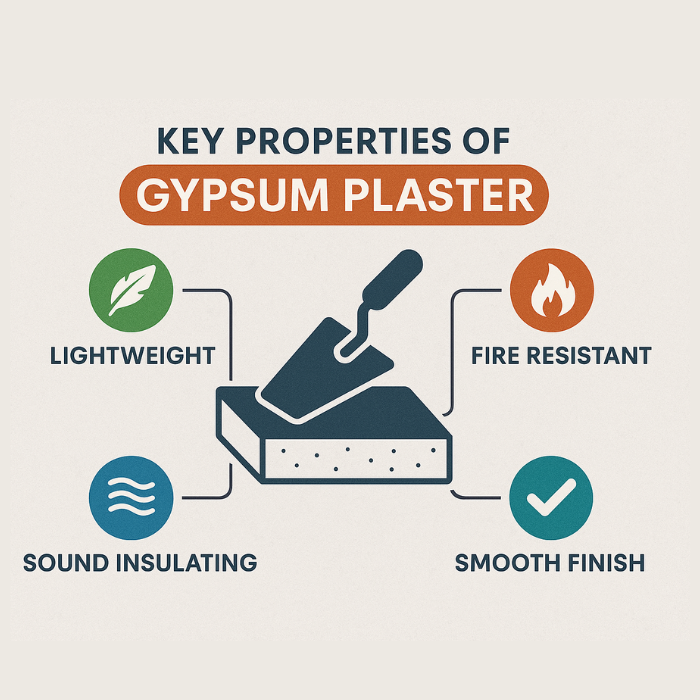
Fire Resistance and Safety
Safety is paramount in any construction material, and gypsum plaster excels in this area. The material offers excellent fire resistance properties, making it a safe choice for interior applications. This fire-resistant nature is particularly important in Indian residential construction, where electrical installations and kitchen areas require materials that can withstand high temperatures without compromising structural integrity.
Sound Insulation Properties
Urban Indian homes often face noise pollution from traffic, neighbors, and street activity. Gypsum plaster provides natural sound insulation properties that help reduce noise transmission through walls. This acoustic benefit is especially valuable in apartment buildings and closely spaced residential areas where privacy and peace are essential.
Thermal Regulation
The thermal properties of gypsum plaster contribute to better temperature regulation within homes. The material helps maintain consistent indoor temperatures, reducing the load on air conditioning systems during hot summers and heating systems during winters. This thermal efficiency translates to reduced energy costs and improved comfort levels.
Moisture Resistance
While gypsum plaster is not suitable for exterior applications due to moisture sensitivity, it performs excellently for interior wall repairs when properly applied. The material’s composition allows it to handle normal indoor humidity levels effectively, making it suitable for most interior spaces, excluding areas with direct water exposure like bathrooms without proper ventilation.
Application Areas and Versatility in Repairs
Crack Repair and Patching
Gypsum for repairing interior plaster walls is particularly effective for addressing various types of wall damage. Whether dealing with hairline cracks, larger fissures, or areas where old plaster has fallen away, gypsum plaster provides a reliable solution. The material’s ability to fill gaps and create a seamless surface makes it ideal for both minor touch-ups and major repair projects.
Ceiling Repairs
Interior ceiling repairs often present unique challenges due to accessibility and the need for materials that won’t sag or fall. Gypsum plaster’s lightweight nature and excellent adhesion properties make it perfect for ceiling applications. The material maintains its integrity even when applied overhead, ensuring safe and durable repairs.
Preparing Surfaces for Decoration
Beyond basic repairs, gypsum plaster serves as an excellent preparatory surface for various decorative treatments. Whether planning to apply paint, wallpaper, or textured finishes, the smooth, even surface created by gypsum plaster provides an ideal foundation that enhances the final result.
Cost-Effectiveness and Economic Benefits
Long-Term Value
While the initial cost of gypsum plaster may be higher than traditional cement-based alternatives, the long-term value proposition is compelling. The durability and quality of gypsum for interior walls means fewer repairs over time, reducing maintenance costs and the inconvenience of frequent wall work.
Reduced Labor Costs
The ease of application and quick drying time of gypsum plaster translate to reduced labor costs. Skilled workers can complete repairs more efficiently, and the elimination of curing time means projects can be completed faster, reducing overall labor expenses.
Material Efficiency
Gypsum plaster’s excellent coverage and minimal waste generation make it an economically efficient choice. The material’s consistency and workability mean that less product is needed to achieve the same coverage compared to traditional alternatives, providing better value for money.
Environmental Considerations
Sustainable Choice
Gypsum plaster is considered an environmentally friendly option for interior wall repairs. The material is derived from natural gypsum rock and can be recycled, making it a sustainable choice for environmentally conscious homeowners. The production process of high-quality gypsum plaster also has a lower environmental impact compared to cement-based alternatives.
Indoor Air Quality
Unlike some traditional plastering materials that may release harmful compounds, gypsum plaster is safe for indoor use and does not negatively impact indoor air quality. This characteristic is particularly important in Indian homes where family members, including children and elderly individuals, spend significant time indoors.
Choosing the Right Gypsum Plaster for Your Needs
Quality Considerations
When selecting gypsum for repairing interior plaster walls, quality should be the primary consideration. Look for products that offer superior hardness, pure white color, and consistent texture. Premium gypsum plaster products are manufactured using advanced technology and undergo strict quality control processes to ensure optimal performance.
Professional Application
While gypsum plaster is easier to work with than traditional alternatives, professional application ensures the best results. Experienced plasterers understand the proper mixing ratios, application techniques, and finishing methods that maximize the material’s benefits.
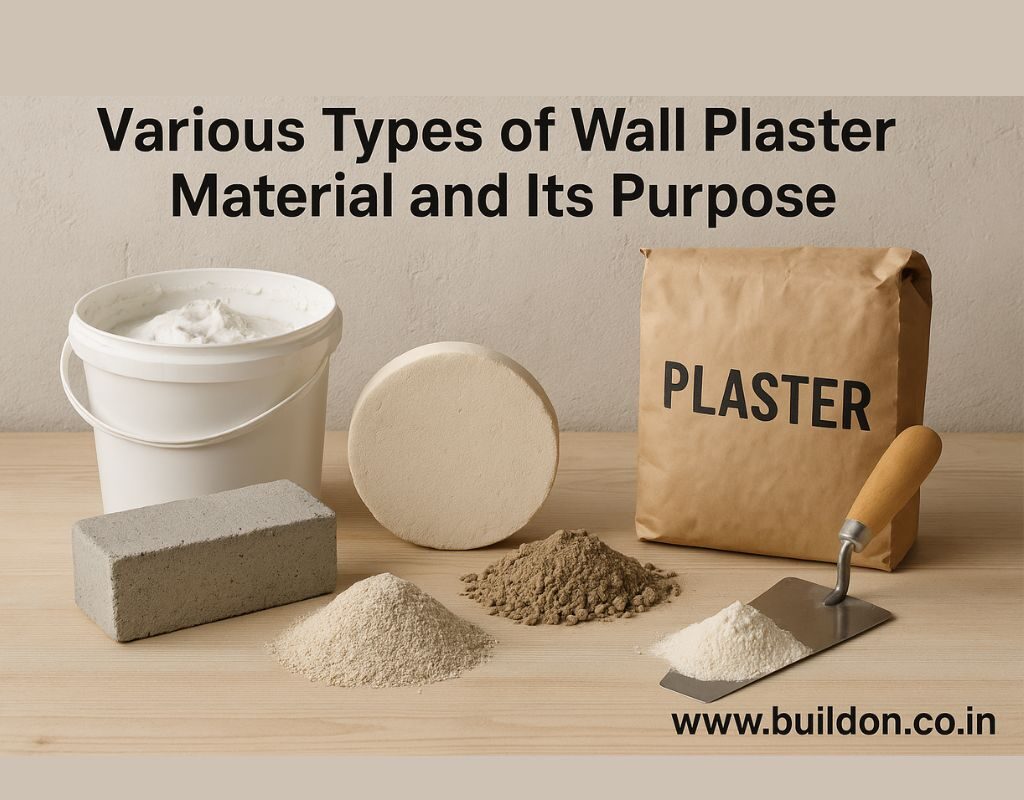
Product Varieties
Different types of gypsum plaster are available for various applications. Some products are specially formulated for specific repair needs, while others are designed for general interior plastering. Understanding these variations helps in selecting the most appropriate product for your specific requirements.
Maintenance and Care
Routine Maintenance
Walls repaired with gypsum plaster require minimal maintenance when properly applied. Regular dusting and occasional cleaning with mild detergents are sufficient to maintain the appearance and integrity of the surface. The material’s durability means that routine maintenance is straightforward and infrequent.
Addressing Minor Issues
Should minor issues arise, gypsum plaster repairs can be easily addressed using the same material. The compatibility of new gypsum plaster with existing applications ensures seamless repair work without the need for extensive surface preparation.
Preventive Measures
To maximize the lifespan of gypsum plaster repairs, ensure proper ventilation in interior spaces and address any moisture issues promptly. While the material handles normal indoor humidity well, preventing excessive moisture exposure helps maintain its integrity over time.
Conclusion
The decision to use gypsum for repairing interior plaster walls represents a smart investment in your home’s future. With superior adhesion, quick application, excellent finish quality, and long-term durability, gypsum plaster addresses the common challenges faced by Indian homeowners while providing economic and environmental benefits.
Whether you’re dealing with minor cracks, major wall damage, or planning a comprehensive interior renovation, gypsum plaster offers a reliable, professional solution that stands the test of time. The material’s versatility, combined with its technical advantages and cost-effectiveness, makes it the preferred choice for discerning homeowners and construction professionals across India.
Ready to transform your interior walls with premium gypsum plaster? Visit Buildon to explore our range of high-quality gypsum plaster products designed specifically for Indian construction needs. Our expert team can guide you in selecting the right product for your specific requirements and connect you with skilled professionals for optimal results.
Frequently Asked Questions
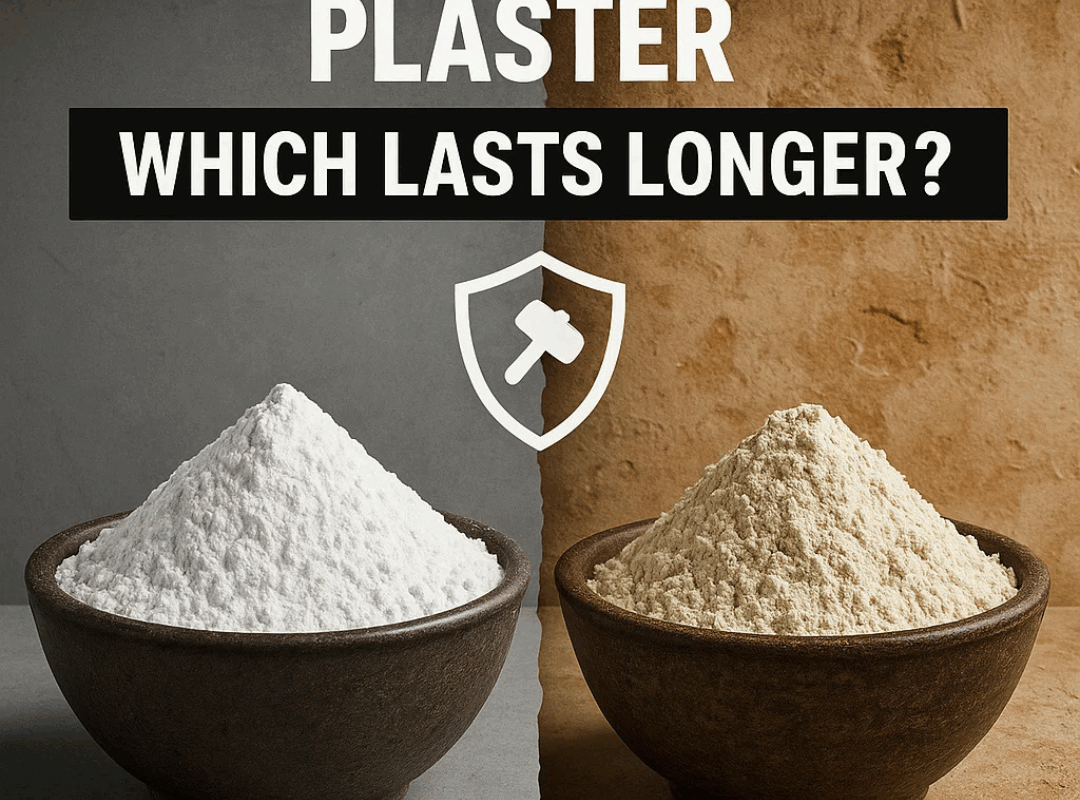
Q1: What makes gypsum plaster better than cement plaster for interior wall repairs?
Gypsum plaster offers superior adhesion, faster drying, a smoother finish, and better fire resistance compared to cement plaster, making it ideal for interior applications.
Q2: How long does gypsum plaster take to dry completely?
Gypsum plaster dries quickly without requiring curing time, typically allowing for painting within 24-48 hours of application, unlike cement plaster, which needs weeks.
Q3: Can gypsum plaster be used on all types of interior walls?
Yes, gypsum plaster adheres well to both smooth and rough surfaces, making it suitable for most interior wall types, including brick, concrete, and existing plaster.
Q4: Is gypsum plaster suitable for humid areas like kitchens?
While gypsum plaster handles normal indoor humidity well, it requires proper ventilation in areas with higher moisture levels to maintain optimal performance.
Q5: What is the approximate coverage area of gypsum plaster per bag?
Coverage depends on wall condition and application thickness, but typically a standard bag of 25 kgs covers 25-30 square feet at 12 mm thickness & 20 kgs bag gives coverage of 16 sqft at 12 mm thickness for interior plastering work.