
Nothing frustrates Masons, interior designers, contractors, and builders more than discovering lumps and clumps in their plaster mix just when they’re ready to apply it. These unwanted formations can ruin an entire project, leading to uneven surfaces, poor adhesion, and ultimately, costly rework. Whether you’re working with gypsum plaster for residential projects or commercial spaces, choosing the right wall plastering material and mixing it correctly is crucial to achieve a smooth, lump-free finish that meets professional standards.
The key to preventing clumps lies in understanding the science behind plaster mixing and applying proven techniques that ensure consistent quality every time. Whether you’re working with traditional plaster or ready mix plaster, this comprehensive guide will walk you through professional methods, common mistakes to avoid, and expert tips that will transform your plastering outcomes.
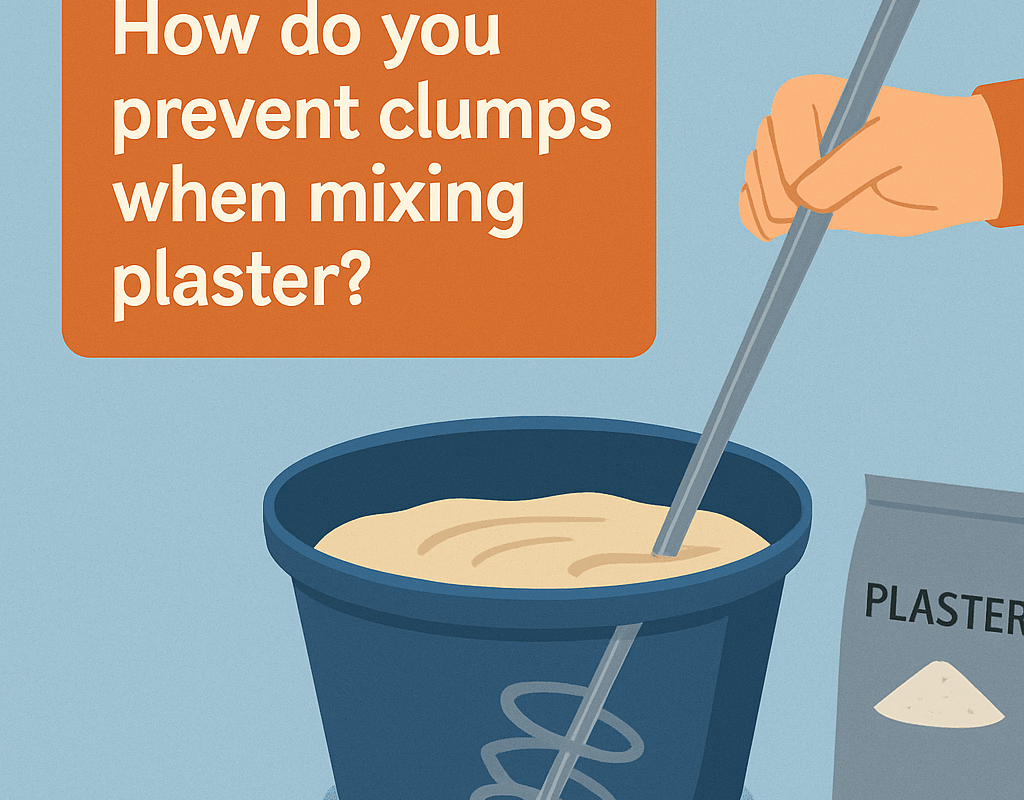
Understanding Why Clumps Form in Plaster Mixtures
The Science Behind Plaster Clumping
Gypsum plaster is a calcium-based chemical substance that’s heated to over 300 degrees and acts as a binding agent when combined with water. When mixing isn’t done correctly, the fine powder particles don’t hydrate uniformly, creating dry pockets that form stubborn clumps.
Several factors contribute to clump formation:
- Incorrect Mixing Sequence: Adding water to plaster instead of plaster to water creates immediate clumping as the powder forms a hard shell around dry centers.
- Improper Water Temperature: Using water that’s too hot or too cold affects the hydration process and can cause uneven mixing.
- Insufficient Mixing Time: Rushing the process doesn’t allow all particles to properly hydrate and integrate.
- Wrong Water-to-Plaster Ratio: Incorrect proportions create either too-thick mixtures that won’t blend properly or too-thin mixtures that separate.
- Poor Water Quality: Using impure or contaminated water introduces unwanted minerals and particles that disrupt the plaster’s setting reaction, increasing the chances of clumping.
The Golden Rule: Always Add Plaster to Water
Why This Sequence Matters
Professional plasterers universally agree: always add plaster to water, never the reverse. This fundamental rule prevents immediate clump formation and ensures better overall consistency.
When you add plaster to water:
- Individual particles become surrounded by water molecules
- Hydration occurs gradually and evenly
- The mixture maintains better workability
- Clumps are naturally prevented from forming
Step-by-Step Mixing Process
Step 1: Prepare Your Materials Start with clean, room-temperature water in a clean mixing container. Use only potable water for best results.
Step 2: Measure Accurately For gypsum plaster, the typical ratio is one part plaster to two parts water by volume. However, always check manufacturer specifications as ratios can vary.
Step 3: Add Plaster Gradually Pour gypsum plaster slowly into the water while stirring continuously. Add small amounts at a time, allowing each addition to integrate before adding more.
Step 4: Use Proper Mixing Technique Use back-and-forth strokes while occasionally turning the bowl and scraping down the sides to incorporate all material evenly.
Professional Mixing Techniques and Tools
Manual Mixing Methods
For small batches, hand mixing remains effective when done correctly:
- Circular Motion Technique: Work the plaster in consistent circular motions, ensuring you reach all areas of the container.
- Figure-8 Pattern: This pattern helps eliminate dead spots where unmixed plaster might hide.
- Scraping Technique: Regularly scrape the sides and bottom of the container to incorporate all material.
Mechanical Mixing Solutions
Modern professional methods use paddle mixers or paint mixers attached to electric drills for consistent results.
Paddle Mixer Benefits:
- Ensures uniform mixing throughout the entire batch
- Reduces mixing time significantly
- Minimizes air bubble incorporation
- Provides consistent results across multiple batches
Optimal Mixing Speed: Research shows that mixing rates between 240-360 rpm provide optimal results, balancing thorough mixing with minimal air incorporation.
Water Temperature and Quality Considerations

Temperature Impact on Mixing
Water temperature significantly affects both mixing success and setting time:
- Room Temperature Water (20-25°C): Provides optimal hydration rates and working time.
- Cold Water: Slows the setting process but can make initial mixing more difficult.
- Hot Water: Hot water speeds up setting time too quickly and can weaken the plaster.
Water Quality Requirements
Always use clean, potable water free from:
- Excessive minerals that can affect setting
- Organic matter that might cause discoloration
- Chemical contaminants that could weaken the bond
Explore the different types of gypsum plaster and their uses to find the ideal solution for interior walls, ceilings, and specialized construction needs.
Timing and Resting Techniques
The Slaking Process
Allow the plaster to soak undisturbed for 2-4 minutes depending on batch size after initial mixing. This slaking period allows:
- Complete hydration of all particles
- Elimination of trapped air bubbles
- Uniform consistency throughout the mixture
- Better workability during application
Final Mixing Phase
After slaking, perform a final gentle mixing to ensure uniformity without introducing excess air. Mix thoroughly for 1-2 minutes to ensure smooth consistency.
Common Mistakes That Cause Clumping
- Mixing Sequence Errors
The most common mistake is adding water to plaster instead of plaster to water. This creates instant clumping that’s difficult to eliminate.
- Inadequate Preparation
Failing to properly clean mixing equipment or using contaminated water can introduce particles that act as clumping nuclei.
- Rushing the Process
Proper mixing requires patience – rushing leads to inadequate hydration and clump formation.
- Incorrect Ratios
Using too little water creates thick mixtures that won’t blend properly, while too much water causes separation and settling. Improper gypsum plaster to water ratio can result in slow setting or fast setting of the mixture.
Advanced Techniques for Large-Scale Projects
Batch Consistency Methods
For large projects requiring multiple batches:
- Standardized Measuring: Use the same measuring containers for each batch to ensure consistency.
- Temperature Control: Maintain consistent water temperature across all batches.
- Timing Protocols: Follow the same mixing and slaking times for every batch.
Quality Control Measures
- Visual Inspection: Each batch should have uniform color and texture without visible lumps.
- Consistency Testing: Use a consistent testing method to verify proper mixing before application.
- Documentation: Keep records of mixing ratios and times for future reference.
Gypsum Plaster Specific Considerations
Understanding Gypsum Properties
Gypsum plaster has unique characteristics that affect mixing:
- Quick Setting: Gypsum sets faster than other plasters, requiring efficient mixing techniques.
- Fine Particle Size: The flour-like consistency requires gentle but thorough mixing to prevent clumping.
- Workability Window: Limited working time means proper mixing is crucial for application success.
Professional Gypsum Plastering Services
For complex projects or when consistent results are critical, professional gypsum plastering services offer expertise in:
- Proper mixing techniques for different applications
- Equipment selection and maintenance
- Quality control throughout the process
- Troubleshooting mixing problems
When to Start Over
If clumps persist after proper mixing attempts, it’s often more cost-effective to start fresh rather than risk poor application results.
Environmental Factors Affecting Mixing
Temperature and Humidity
Gypsum plaster should only be applied when minimum temperatures remain at 2°C or above until dry. These conditions also affect mixing success.
- High Humidity: Can slow drying but may help with mixing consistency.
- Low Humidity: Accelerates setting time, requiring faster mixing and application.
- Temperature Fluctuations: Can cause uneven setting and mixing difficulties.
Storage Considerations
Proper storage of plaster materials prevents clumping issues:
- Dry Storage: Store plaster in a dry place, away from damp or silane-treated walls to avoid premature setting.
- Temperature Stability: Store in temperature-controlled environments when possible.
- Container Integrity: Ensure storage containers are properly sealed to prevent moisture infiltration.
Quality Assurance and Testing
Pre-Application Testing
Before applying plaster to your project:
- Small Batch Testing: Mix a small amount to verify technique and ratios.
- Consistency Evaluation: Ensure the mixture meets your quality standards.
- Setting Time Verification: Confirm the mixture provides adequate working time.
Long-Term Quality Control
- Equipment Maintenance: Keep gypsum plaster mixing tools clean and well-maintained.
- Material Quality: Use only fresh, high-quality gypsum plaster materials.
- Technique Refinement: Continuously improve mixing techniques based on results.
Professional Tips for Consistent Results
Equipment Selection
- Mixing Containers: Use containers with smooth surfaces that won’t trap unmixed material.
- Mixing Tools: While automatic paddle mixers are common globally, in India, plaster mixing is typically done by hand due to smaller batch sizes and practical constraints.
- Measurement Tools: Accurate measuring ensures consistent ratios across all batches.
Workflow Optimization
- Preparation Phase: Set up all materials and tools before beginning mixing.
- Timing Coordination: Plan mixing timing to align with application schedules.
- Team Communication: Ensure all team members understand proper mixing procedures.
Conclusion
Preventing clumps in plaster mixing isn’t just about following a recipe—it’s about understanding the science behind the process and applying proven professional techniques consistently. The key principles remain constant: always add plaster to water, use proper mixing techniques, maintain correct ratios, and allow adequate time for proper hydration. Whether you’re a seasoned contractor or a DIY enthusiast, mastering these steps is essential for working with the best wall plaster and achieving a smooth, flawless finish every time.
Whether you’re an interior designer specifying plaster finishes, a contractor managing large projects, or a builder ensuring quality results, mastering these mixing techniques will significantly improve your outcomes. Remember that investing time in proper mixing techniques saves money on materials, labor, and rework while ensuring professional-quality results.
For complex projects requiring consistent, professional results, consider partnering with experienced gypsum plastering services of Buildon Plasters private limited that understand these principles and can deliver the quality your projects demand. Visit buildon to explore professional plastering solutions and services that can help ensure your next project achieves the smooth, professional finish your clients expect.
The difference between amateur and professional results often comes down to attention to detail in the mixing process. By following these guidelines and continuously refining your technique, you’ll achieve the consistent, lump-free gypsum plaster mixtures that form the foundation of exceptional plastering work.
Frequently Asked Questions
Q: What’s the most important rule for preventing clumps when mixing plaster?
Always add plaster to water, never water to plaster. This prevents immediate clumping and ensures better overall consistency throughout the mixing process.
Q: How long should I mix gypsum plaster to prevent clumps?
Mix for 1-2 minutes initially, then allow 2-4 minutes for slaking, followed by a final gentle mixing phase to ensure uniform consistency.
Q: Can I use hot water to speed up the mixing process?
No, hot water accelerates setting time too quickly and can weaken the plaster. Use room temperature water for optimal results.
Q: What’s the correct water-to-plaster ratio for gypsum plaster?
The recommended ratio is typically 1:1.3 (plaster to water by volume). However, some masons may adjust this based on their experience and comfort. Always refer to the product’s manufacturer guidelines for best results.
Q: When should I consider professional gypsum plastering services?
For large projects, complex applications, or when consistent professional results are critical to project success and client satisfaction.